At first blush terrain might seem like a fairly easy thing to be able to create, and at it’s simplest it might well be. Toss a few mountains about, some rolling hills, a valley or two, a little water, and you’re done - or are you?
I’ve been working on creating terrain for several weeks now, and there’s still more work coming. To be fair, a large amount of time was lost due to a pair of video cards that decided now was the time to slowly die. From there, I lost more time as I struggled to recover from my backups, due to the video card crashes getting violent enough to trash my boot partition. For extra fun I decided to purchase Acronis Backup, and watch in horror as two days later it completely failed to recover from another violent crash, my older backups having just been removed to make room for the Acronis ones. The joy was compounded by Autodesk deciding I had now used too many re-installations of my software and revoking my license.
Several black days of tedious downloads and installs later and I am back on track. On with the business of creating 3D worlds!
After checking around I’ve settled on using 3DS Max, Mudbox, World Machine and Photoshop as my main development tools. Each represents a high quality tool within it’s niche and all are well supported. Quality and support are two of the attributes I most treasure within a software package.
One of the hardest parts of creating new terrain for your product is getting a good workflow. Knowing how to exchange data between the software packages you have chosen is key to ensuring a good day’s work. I’m still working on getting a good workflow, but every day is another step forward.
Currently I am using a workflow based on tutorials from Wenda, but with my own modifications.
I have created a low poly version of the world I want to generate using Mudbox. I find sculpting in Mudbox to be easy and somewhat therapeutic so I use it when I can. This world contains only the most gross details - mountain ranges and major hill lines.
As I am crafting the general layout of the land I mark into place the towns, mains roads and rivers. These are painted into Mudbox on top of the model I am sculpting and are indicative of where I want these features to be placed.
For towns I use about a 75% black on it’s own layer. This allows me to export the layer to a PNG which I can import into World Machine. I use this in a later process to flatten out an area around the township.
Rivers are painted in lurid blue on their own layer. These can be used for tracing using the layout manager in World Machine.
Roads are painted in lurid red on their own layer. Again, these can be used for tracing using the layout manager in World Machine.
In theory, I can use the layout manager to trace over the roads and rivers, and conform these to the terrain to ensure roads don’t rise and fall too much and rivers always fall.
When I first started learning World Machine, I was using a fairly simple machine to try and generate my terrain. The results were understandably poor. Later efforts have been much improved, though there is still room for improvement.
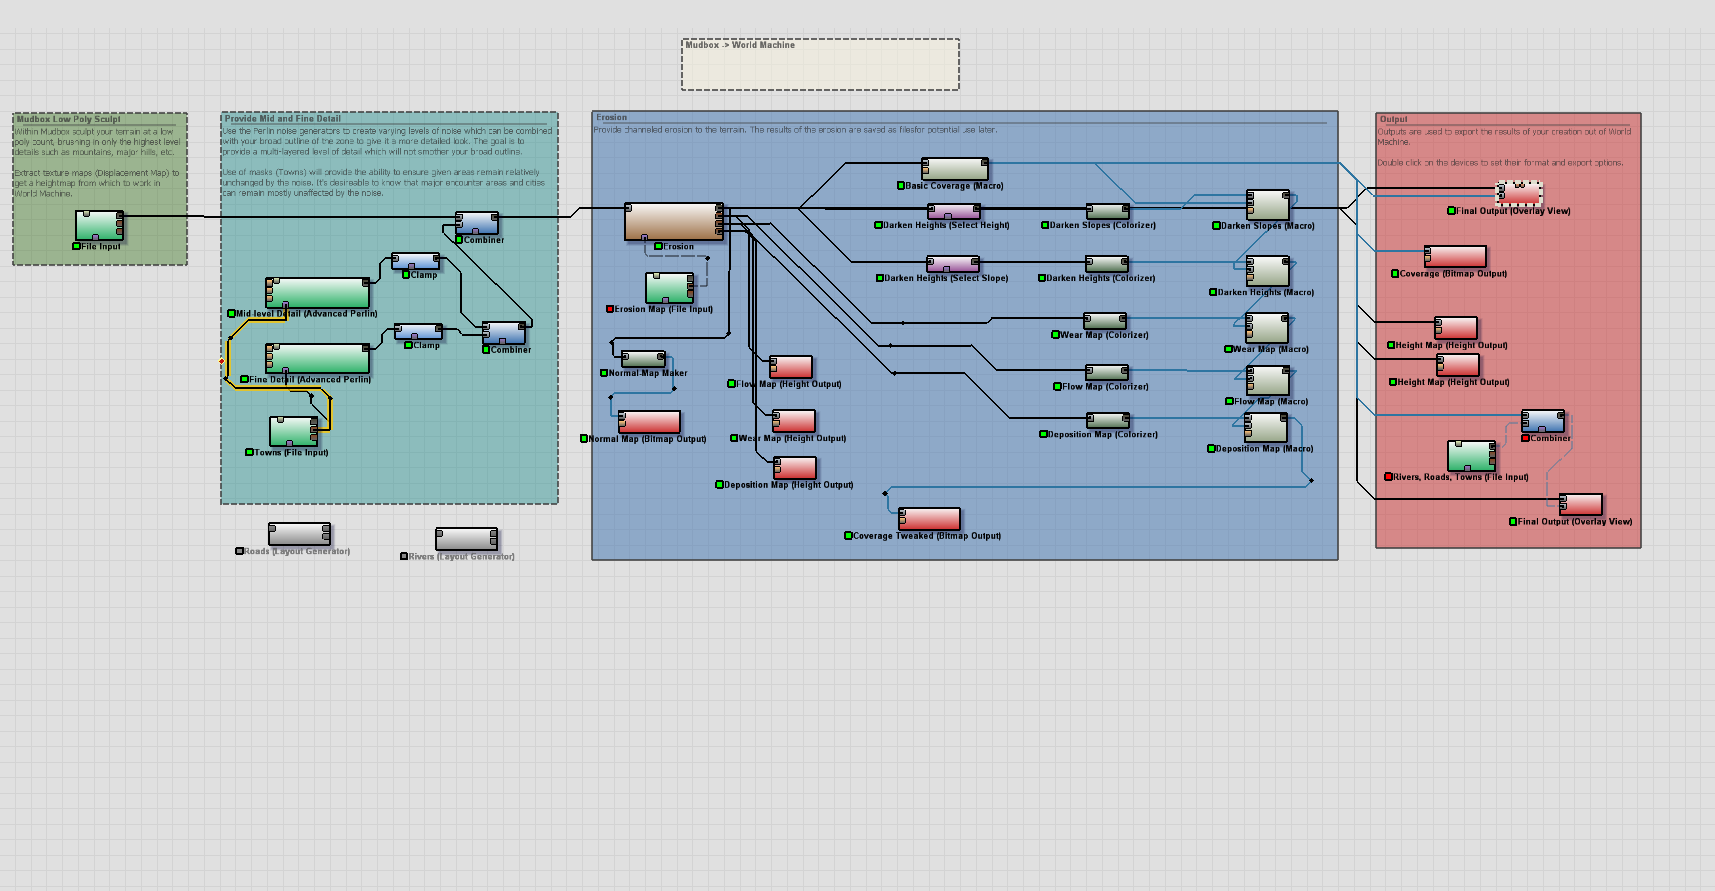
My current machine looks somewhat like the following:

World Machine
This allows me to import the low poly sculpt of my desired terrain. In the second step I am adding two levels of noise to that model to provide it with interest and variation.
In the third step I am eroding the model to make it feel more real. After the erosion has taken place I have extracted several different pieces of data about the erosion and combined them with the ‘basic coverage’ macro to give the output file a lot more depth.
Finally, I combine the various outputs and push the results out to the hard disk as files.
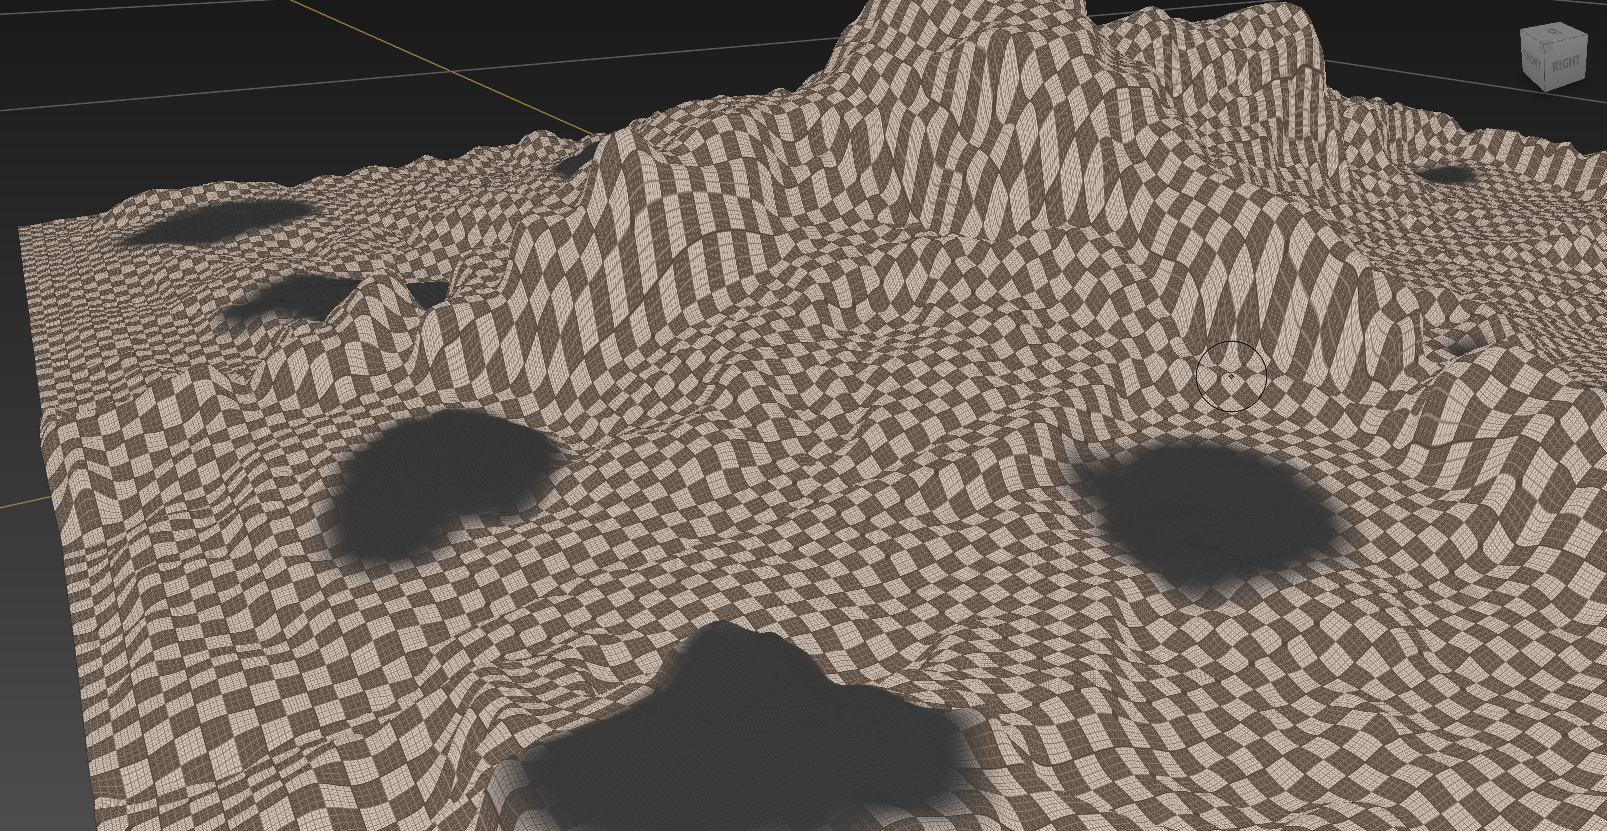
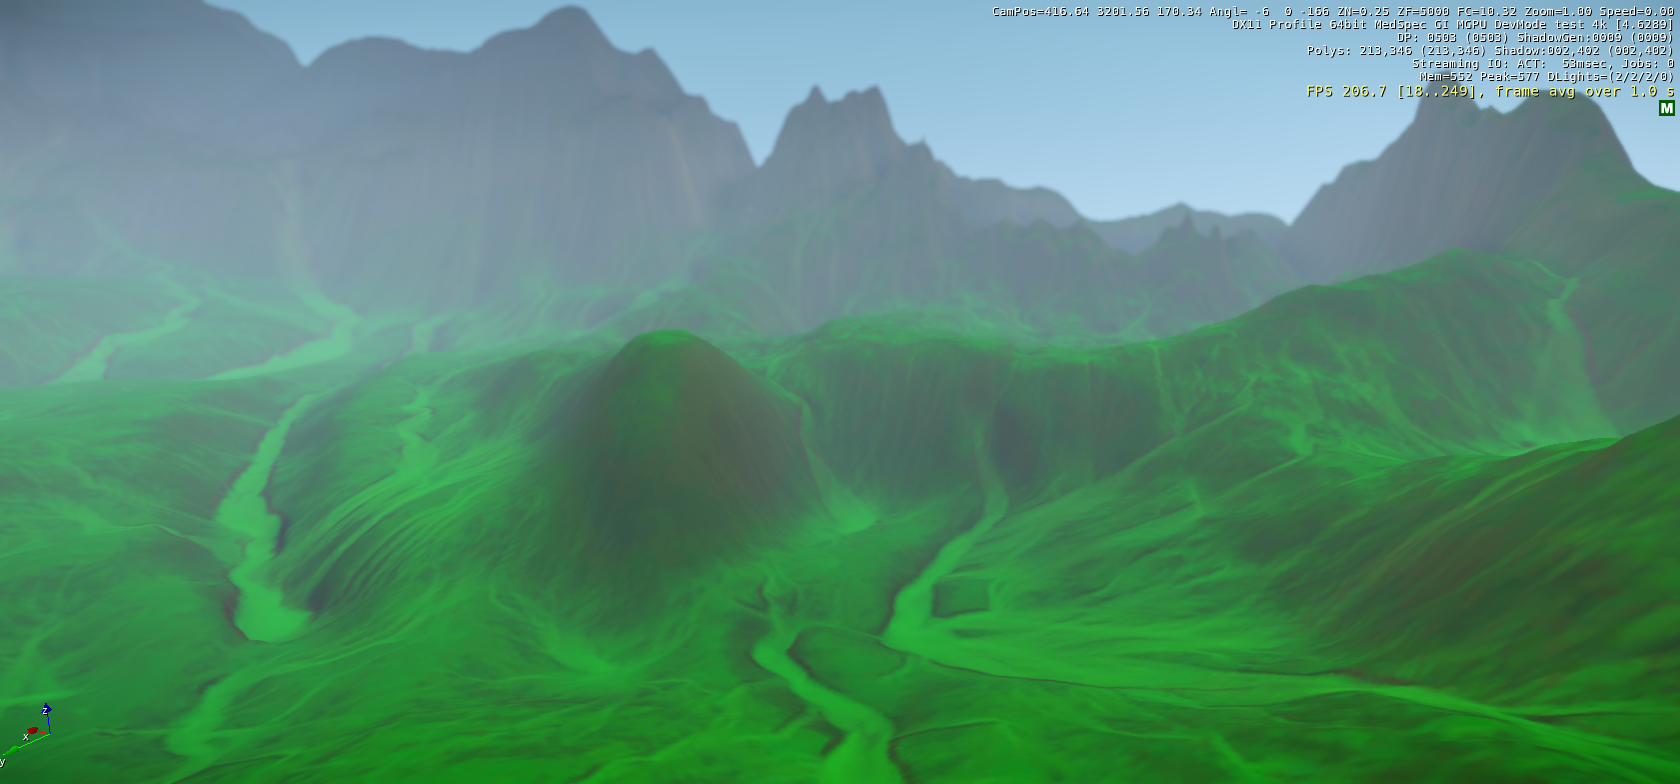
I’ve combined several posts worth of information into one machine. I’m still tweaking it, but so far am liking the results. The machine is turning a simple Mudbox sculpt into a fairly decent terrain I can import into CryEngine. We go from this:

Mudbox Sculpt
to this (not same view angle):

Mudbox Sculpt
NOTE: Usually the flows appear as lighter sections of terrain, but they seem too obvious for my taste so I am re-working that part of the machine. Until then, the scene appears overly green.
The outputs of this machine can be fed directly into CryEngine, without the need to composite withing Photoshop, like many tutorials.
It’s taken a lot of time, but things are starting to gel. More to come soon.
Discover more posts like this:
Create CryEngine CryEngine3 Games Mudbox Photoshop Software Development Terrain World Machine
Overcoming Inertia
On Building a World
